
Oracle Cloud - Setting up a Server on the "Always Free" Tier
28 Jan 2023So it turns out that Oracle Cloud (OCI) offers an extremely generous free tier, and not many people seem to know about it. Beyond the 30 day free trial, which gives you $300 worth of free credits to use (not bad at all), they also offer a pretty substantial amount of infrastructure in their Always Free tier as well. In terms of server (VPS) infrastructure, this includes (at the time of writing at least):
- 2 AMD based Compute VMs with 1 vCPU (x86) and 1 GB memory each + 0.48Gbps max network bandwidth
- 4 Arm-based Ampere A1 cores and 24 GB of memory usable as up to 4 VMs + 4GBps max network bandwidth
- 2 Block Volumes Storage - 200 GB total
- 10 GB Object Storage – Standard + 10GB Object Storage Infrequent Acccess + 10GB Archive Storage
- Outbound Data Transfer -10 TB per month
Now, whatever you may think of Oracle in general, you can’t deny that this is a good deal. You can in theory set up a max of 6 VPS instances, all for free, on a commerical cloud environment. Even if the setup process might be a bit awkward compared to other providers, you can’t really complain too much. You would be spending a fairly significant amount on the equivalent amount of infrastruture from elsewhere like AWS or DigitalOcean.
In the rest of this post I will quickly run through the steps to setup a small VPS server running Nginx on the free Oracle Cloud tier. This is a standard VPS, just like you would find anywhere else, running Ubuntu Server 22.04. A Terraform provider is also available if you wanted, but for simplicity I will go through the web console.
Create an “Always Free” Oracle Cloud Account
Go to https://www.oracle.com/uk/cloud/free/#always-free and create an account as usual. You will have to provide credit card information (I presume to prevent misuse), but won’t be charged. For the first 30 days you will be able to play with $300 of credit if you want to, but after that time is up your account will revert automatically to the Always Free tier.
Create an Instance
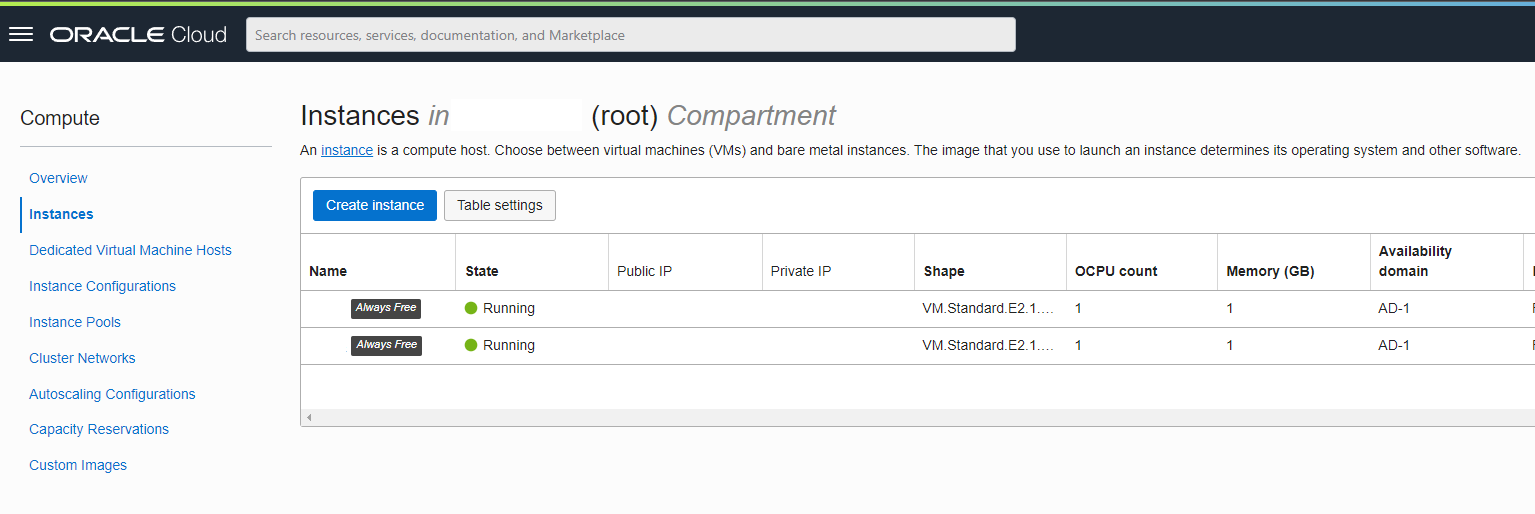
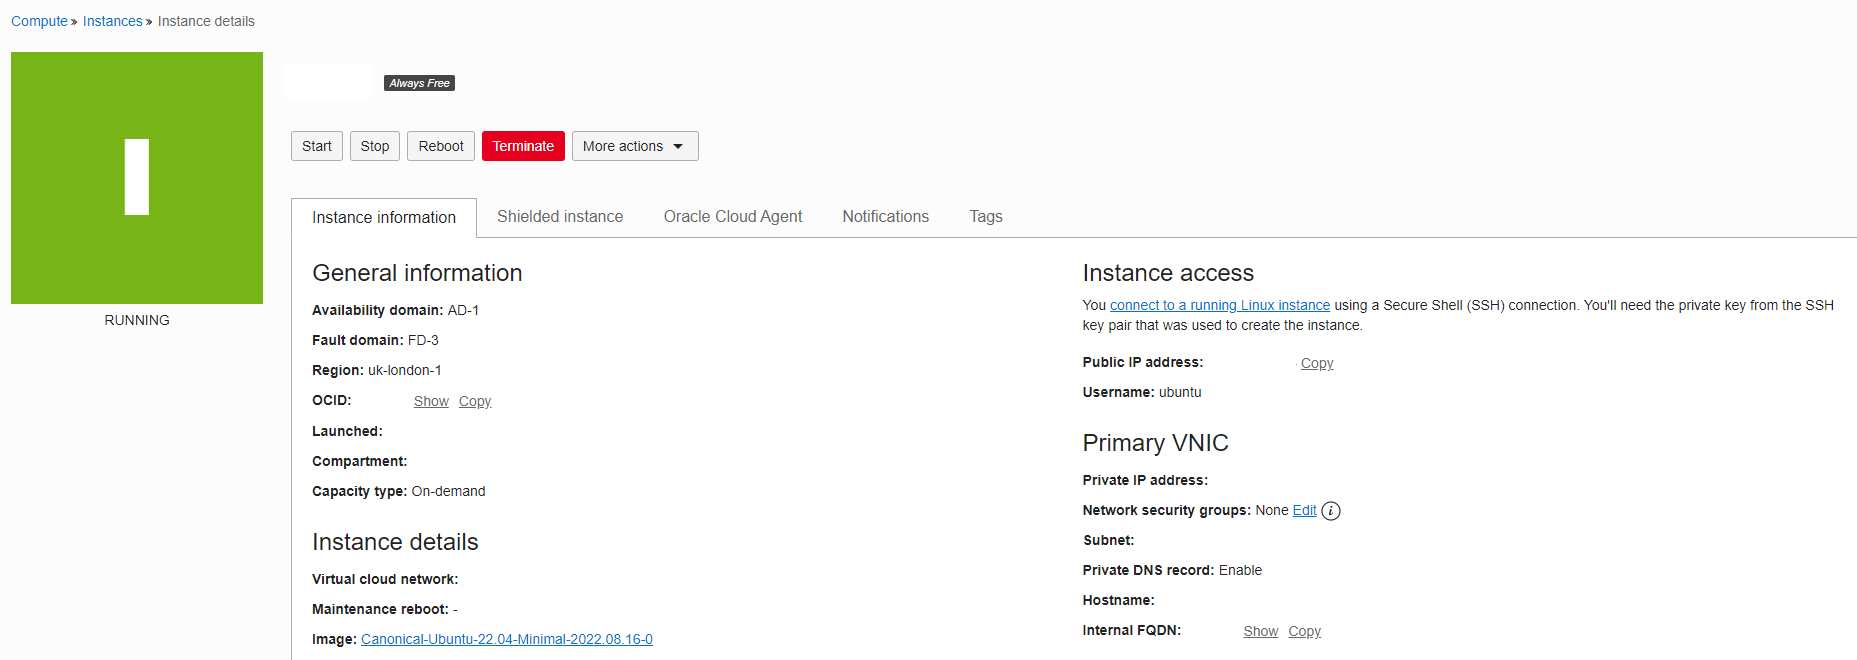
Once signed in, select the Instances option on the main dashboard (yes the console isn’t the best for navigation). You should be presented with the following screen which will show all active instances. You can see that I’ve created a couple already:
Click on the Create Instance button to create a new VM. This is the standard VPS configuration/settings page:
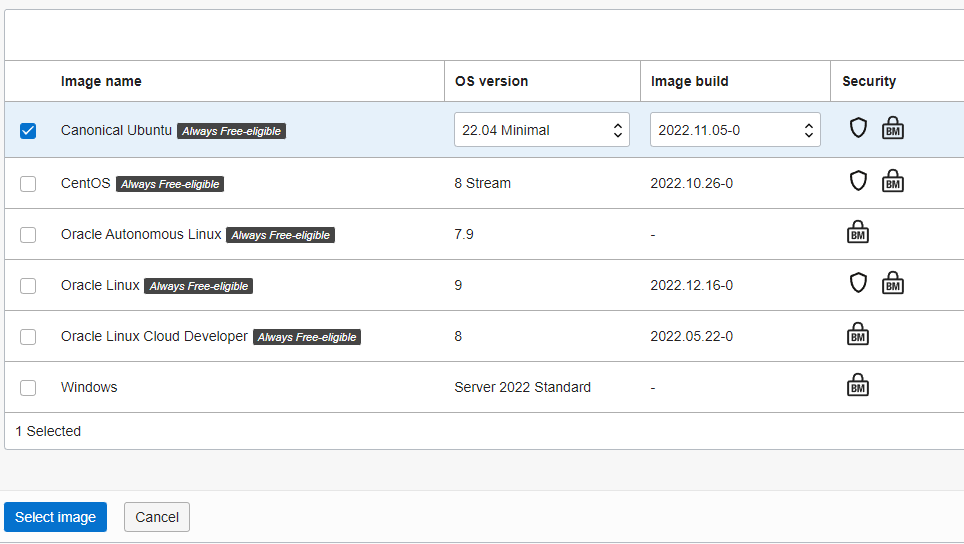
Placement- controls whichAZthe server is deployed to. Can be kept at default to let OCI choose the best. It should be noted that I’m also creating instances directly in theUK (London)region which is great for latencySecurity- keep as defaultImage and Shape- select the Image and type of server (amount of resources) you wish to deploy:
For this example we will go with Ubuntu Server 22.04 minimal as our OS. It works great on the limited amounts of CPU and RAM on these nodes as it unbundles a lot of of the default packages that you probably don’t need anyway (you can get them back if you need).
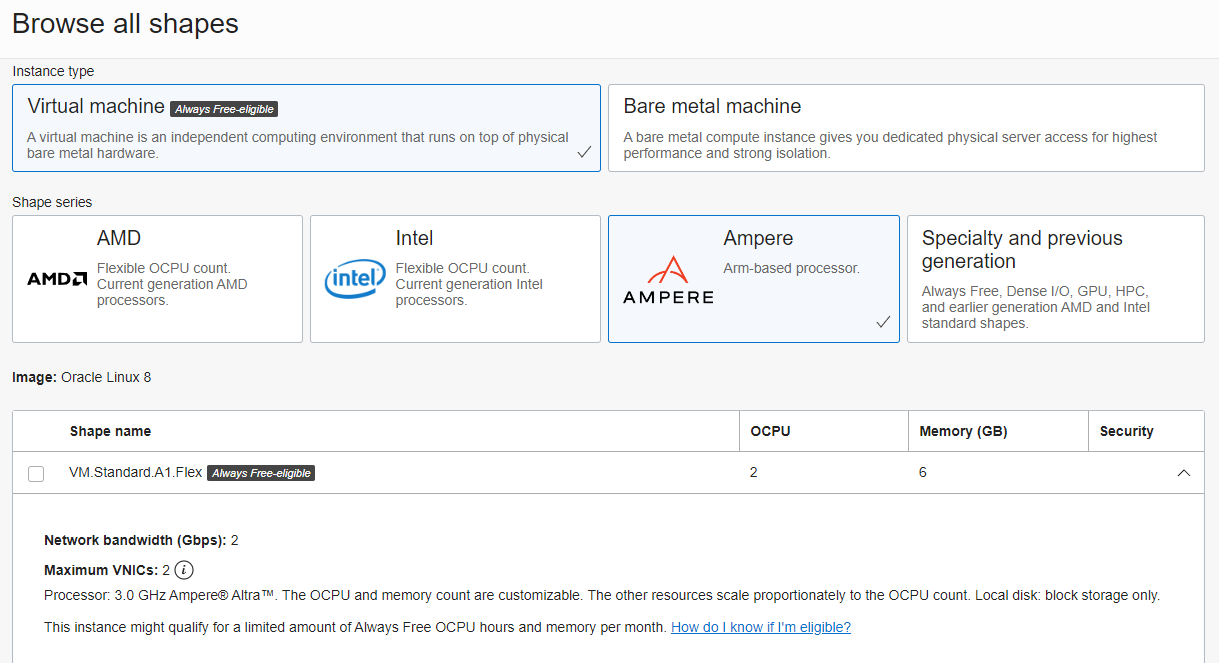
For shape, you can choose between AMD (2.0 GHz AMD EPY 7551 x86) vs ARM based (Ampere) CPU’s. You are limited to 1GB RAM max on the AMD shapes (makes sense since they are more expensive), but up to 24GB on the ARM cores. You get a max of 4Gbps of bandwidth on those ARM boxes well, which is very impressive for a free offering (though I haven’t benchmarked what you actually get). Here we will go with anAmpere based VM with 2 vCores and 6GB of memory (did I mention already that all this is free?):
Networking- can keep these as default to use your default rootVirtual cloud networkandsubnet. Also make sure the option is checked to assign a publicIPv4address to your instanceBoot Volume- by default you will get a 50GB volume. You can increase this if you want to, up the max of 200GB allowed in the free tier
Create an SSH Key
In the Add SSH Keys section you can choose to automatically generate a keypair, but I prefer to create my own. There are plenty of tools for this, for now I will use PuttyGen to create a new Ed25519 keypair. Save both the private and public key locally for use later as usual. Don’t worry I’m not using this key
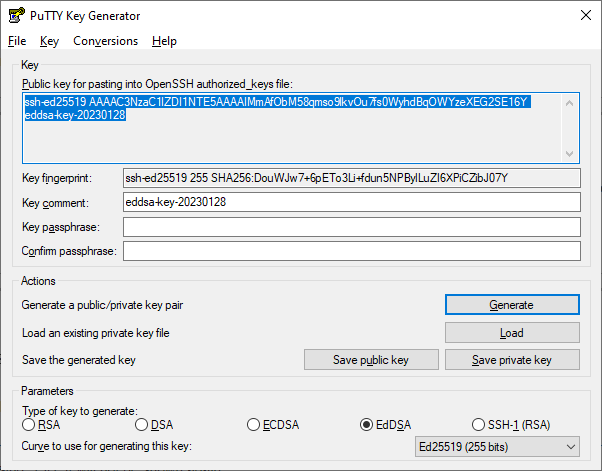
Then paste the public key into the corresponding box in the console. Oracle Cloud (OCI) will inject this public key into the .ssh/authorized_keys file for the main ubuntu user on the new VPS instance, thus allowing you to login through SSH.

You can look through the other configuration options as needed, but that should be good enough for now. Press Create and wait a couple minutes for the instance to be created. Startup times seem pretty reasonable on Oracle Cloud.
Update the default Security Group
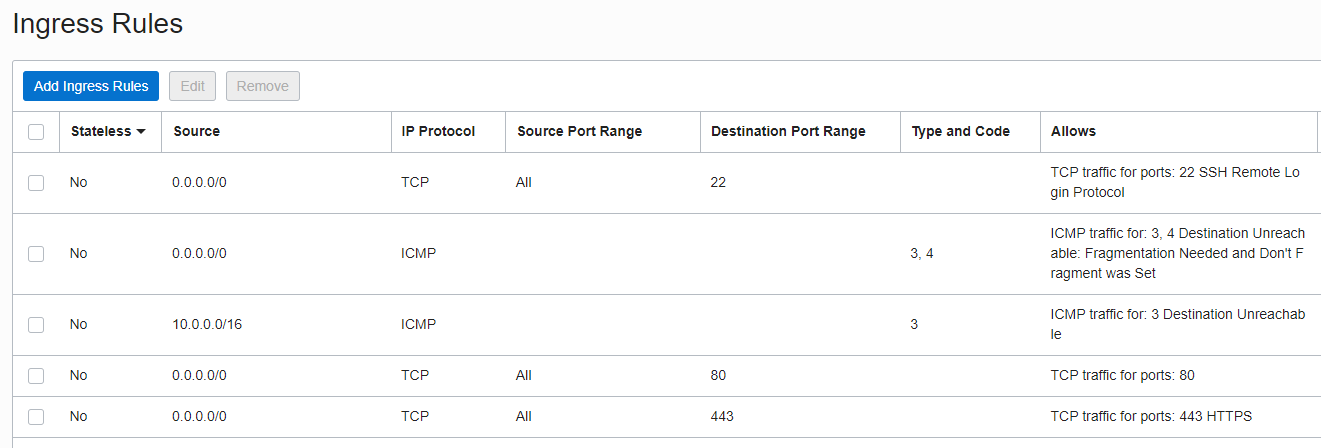
As you might expect, by default the security group (or security list in Oracle Cloud) will block all traffic coming into your server by default apart from port 22 for SSH. This is good, but as we want to setup an Nginx web server on ours, we need to add a couple new ingress rules.
In the Virtual Cloud Networks section, navigate into your default VCN which was created by default. On the left, select the Security Lists option. There should be a single default entry for the VCN. Here we will add two new Ingress rules for port 80 and port 443. It should look something like the following after the changes:
Login to the Instance
Now all that needs to be done is to login to the instance using your private key saved from earlier. The default user is called ubuntu so if using standard ssh commands then something like ssh -i /path/to/private/key ubuntu@ipaddresss should get you in.
The ubuntu user has sudo access by default, so you can now start installing packages and using the instance for whatever you need.
Follow my other guide posts on how to setup an Ubuntu Server instance from scratch. For now we can just install Nginx to see our server running: sudo apt install nginx and sudo systemctl status nginx to check that it’s running.
Configuring iptables
One thing that might cause issues is the fact that the Oracle Ubuntu image sets up an iptables rule to block all traffic by default (ufw is not installed). That means if you had an Nginx server running, you won’t be able to ping it using the public IPV4 address unless you open up access on the ports. This seems a strange choice considering this is also controlled by the security group, but extra layers can’t hurt I guess.
To allow access on ports 80 and 443 for a standard web server with HTTPS enabled, run the following commands:
sudo iptables -I INPUT 6 -m state --state NEW -p tcp --dport 80 -j ACCEPT
sudo netfilter-persistent save
sudo iptables -I INPUT 6 -m state --state NEW -p tcp --dport 443 -j ACCEPT
sudo netfilter-persistent save
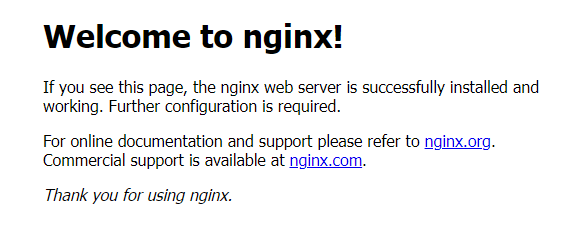
If you now navigate to the public IPv4 address in a browser, you should see the standard Nginx welcome page:
That about wraps up the setup process for this post. As I said, the Oracle Cloud free tier is extremely generous in terms of the sheer amount of infastructure you can provision. Plus, it operates just like the others big players as a proper commerical cloud offering, so uptime, network performance and integration with the general infra tooling should work out of the box.