Compile from the Command Line
29 Jun 2011It’s sometimes frustrating when you want to compile and test a short snippet of code, yet find yourself modifying an existing project or even creating a whole new one just to compile the code. Most developers write and compile their code straight from their IDE of choice and never bother compiling from the command prompt. For most situations this is sensible, however in some specific scenarios the command line can save you time when it’s not feasible to modify or create a new project. In this short tutorial I will show you how to compile your Java, C# and C++ code straight from the command line, including all the necessary tweaks of your Environment Variables.
Java
The first language is Java. I will assume that you have the JDK (Java Development Kit) installed, as this is the package that includes the Java compiler.
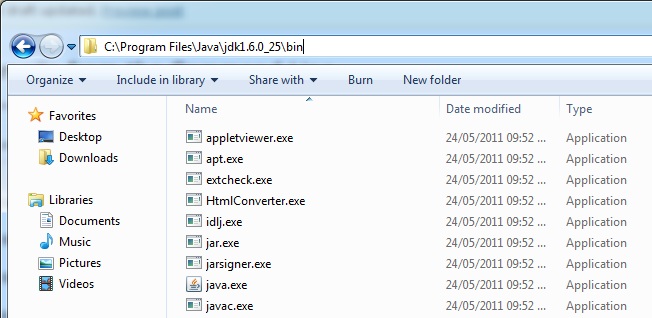
The first step is to navigate to the installation directory of your JDK installation and copy the path to the bin folder which resides inside. The path should look a bit like this (depending the version of the JDK you have installed) -
Once you have the path in the clipboard, you have to add it to your system’s Environment Variables, which will essentially allow you to run the Java compiler from anywhere on your computer.
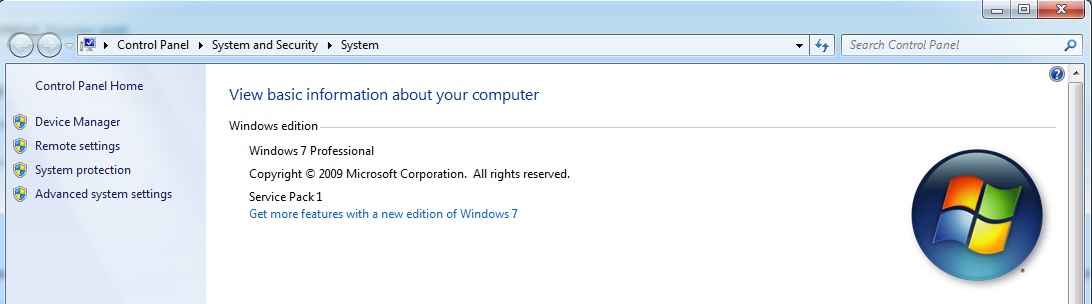
In Windows 7, click the Start orb and right click on the Computer shortcut and click on Properties in the context menu. This should take you to a window that looks something like this -
Then, click on Advanced System Settings on the right hand side. Under the Advanced tab of the new window, click on Environment Variables….
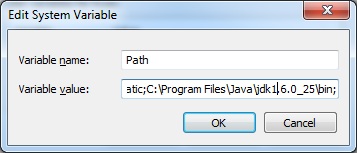
Next, you want to locate the variable named Path in your System Variables. If you don’t have one, click on the new button to create a new variable (make sure you name it Path). With it selected, click on edit. A new window pops up showing the value of the Path variable. Navigate to the end of the value string and add a semi-colon to signify a new entry.
Finally, simply paste in the path to the JDK’s bin directory and click on OK. The value field should look a little like this -
We have now configured your system to allow you to compile Java programs from any directory on you hard drive.
To use the compiler from the command line, open up a new command prompt window by typing cmd in the Run box (or search box in the Windows 7/Vista start menu).
Type in javac (stands for Java Compiler) and hit enter. You should see a lot writing being printed to the window. It should look a little like this -
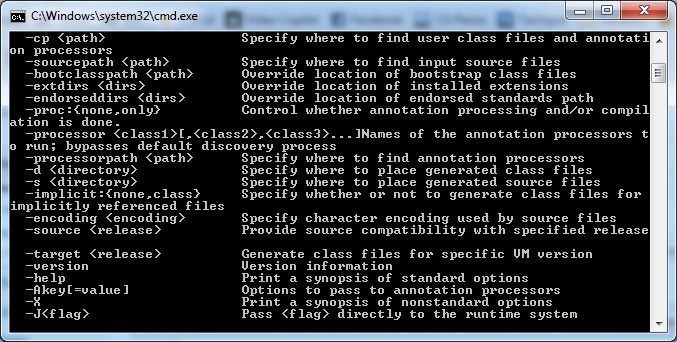
This signifies that you can actually use the compiler and that you have successfully followed the previous steps.
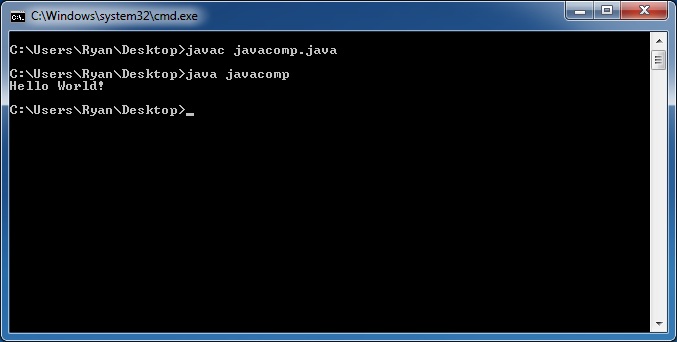
In this example I will compile and run a simple ‘Hello World!’ program from the desktop.
public class javacomp
{
  public static void main(String[] args)
  {
    System.out.println("Hello World!");
  }
}
Save this Java source file to any directory on your computer, (in this case my Desktop) and again open up a command prompt window.
Next, navigate to the directory of your source file using the cd command.
e.g - cd C:\Users\YourUserName\Desktop
When this is done, type javac again, yet this time followed by the name of the source file you just created, (make sure you add the .java extension) and hit enter. If there are no syntax errors you should see a new .class file in the same directory. This is where the compiled bytecode is stored. Finally, to run the program type java and the name of the .class file (this time no need to add the extension). The program will now run the window and you should see something like this -
More information about the Java compiler, including the many command line arguments.
C#
Next for C#. This is pretty much the same as for Java apart from a different path to the compiler.
In this case you need to copy the path to the .NET Framework folder in the root Windows folder. The path should be a bit like this depending on the version of the .NET framework you have installed -
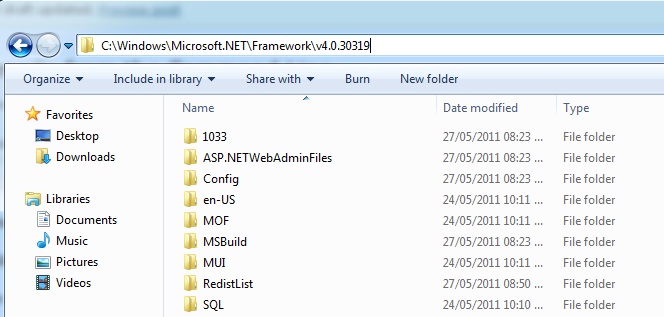
Make sure you have a file called csc.exe in the path directory, and add this to the Path Environment Variable just like before.
And that’s it for C#. To compile and run the ‘Hello World!’ C# program, make a new .cs source file with the following code inside -
using System;
public class csharp
{
public static void Main(string[] args)
{
Console.WriteLine("Hello World!");
}
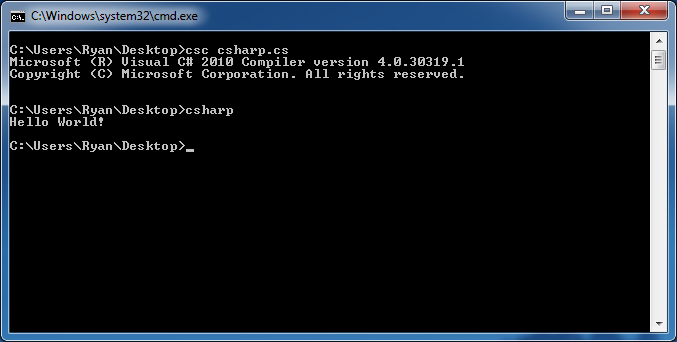
} Open up a new command window, navigate to the relevant directory, and type csc followed by the source file’s name and hit enter. This time a .exe will be created in the same directory if no syntax errors are encountered. To run this program, simply type the file name into the command line window and hit enter. You should again see the following -
More information about the C# compiler can be found.
C++
Finally C++. In this instance, the process is a lot simpler, yet you need to have access to a Visual Studio Command Prompt, which is a part of Microsoft’s Visual Studio IDE. Although technically it is possible to do so without, this would require adding multiple Environment Variables, and in some cases including paths to C++ library classes, that can get confused very easily and would essentially destroy the purpose of compiling without an IDE.
The first step is to again make new .cpp C++ source file and add the following ‘Hello World!’ code -
#include <iostream>
int main()
{
std::cout << "Hello World!" << std::endl;
return 0;
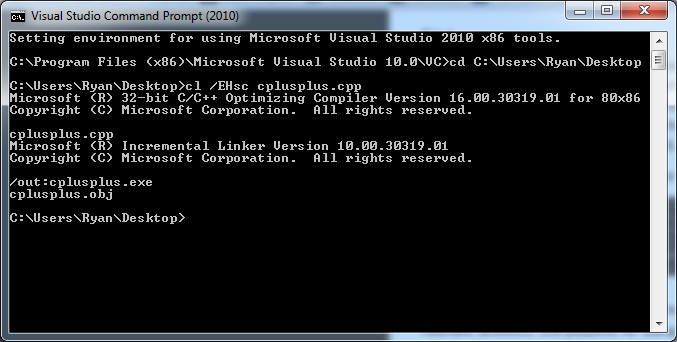
} Open up your Visual Studio Command Prompt, in my case the 2010 version, and again navigate to the relevant directory. the purpose for using the custom Command Prompt from Visual Studio is that it automatically sets all the relevant Environment Variables and paths upon execution, which results in a much more reliable experience when compiling C++ code.
Next, simply type in cl along with the name of your source file and hit enter. If no syntax errors are encountered, a .exe file along with a .obj file will be created in the same directory (you can ignore the .obj file for the purposes of this tutorial, as this is just an intermediate file). Type in the name of the executable and you see the following -
It should be noted that if you are using libraries from the .NET Framework in your C++ application, you will need to include the /clr attribute before the file name to signal the compiler to create MSIL code rather than native machine code.
Comprehensive list of all the command line arguments available for the C++ compiler.
That’s about it for compiling from the command line. If you have any problems or queries, feel free to post a comment below or contact me through the contact form.