Ubuntu Server Setup Part 1 - Logging In
29 Mar 2016- Part 2 - Securing Login
- Part 3 - Installing a Firewall
- Part 4 - Setup Nginx Web Server
- Part 5 - Install Git, Ruby and Jekyll
- Part 6 - HTTPS With Let’s Encrypt
- Part 7 - Email Forwarding with Postfix
- Part 8 - Sending Email Through Gmail
- Part 9 - Setup a Reverse Proxy with Nginx
- Part 10 - Install Docker and Docker Compose
In this set of posts I’ll be running through setting up a new Ubuntu server - from initial setup and security through to installation of some of the most common packages. You can get your very own server/VPS through companies such as DigitalOcean or OVH - in this case we’ll be using Ubuntu Server 20.04, but the same concepts should apply to previous and future releases as well.
In this post we’ll be covering how to login to your server for the first time through SSH and creating a new user with root privileges.
Logging in as Root
When you create your new server, you should receive an email with directions on how to login to your server. This will normally include the public IP address of your server and a randomly generated password which will allow you to login as the main root user. The root user is the main administrator in a Linux system and so has privileges to do pretty much anything. You therefore generally don’t want to be logged in as root for day-to-day operations where you can potentially cause damage quite easily. We do however need to login as root initially (as at this point we don’t have any other users).
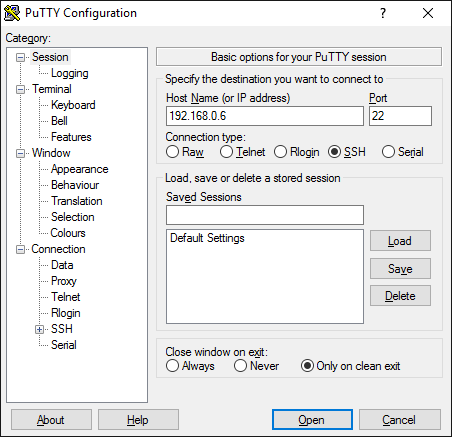
In this post we’ll be using PuTTY as an SSH client, however all other alternatives will work just as well. Inside your initial email you should have the public IP of your server along with the root password. In the PuTTY client window enter the IP address into the Host Name field and press ‘Open’ (assuming SSH is selected and the port is set to the default 22).
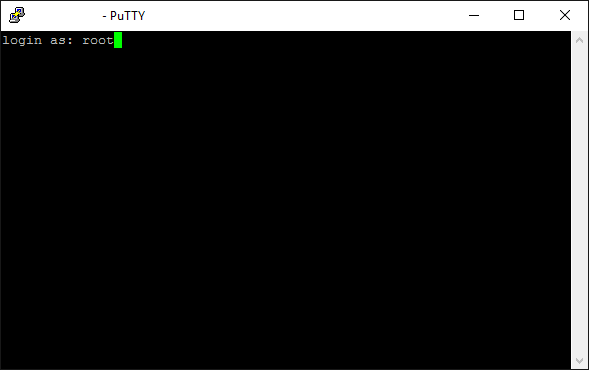
You should be greeted with a black window prompting you for the user your wish to login as - in this case ‘root’. Enter the root password when prompted. As this is the first time you are logging in, you will also be prompted to change the default root password (make sure to choose something strong).
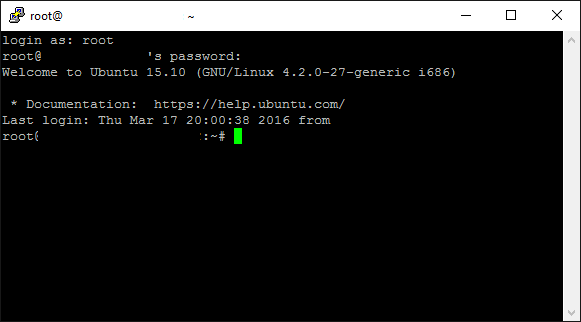
If you see a new bash shell, then you have successfully logged in to your server and you can move on to setting up your own new user.
Creating a New User
As I said before, working as root is generally considered a bad idea. Instead, we will be creating a new user which we will be logging in as in all future sessions.
$ adduser demo
This command will create a new user called ‘demo’ (change the name to be something more relevant). You will be prompted for a new password (again choose a strong one) along with some general information for the new user (you can skip this be pressing Enter).
Granting Root Privileges
We have just created a new user, but by default they have very limited privileges which prevents them from installing new packages or modifying any system files. Obviously for us this is not ideal, so instead we can grant the new user ‘sudo’ privileges, which allows us to run commands as root without having to actually be logged in as root. To grant these privileges, run the following as root:
$ gpasswd -a demo sudo
or
$ sudo usermod -aG sudo demo
You can now run commands as root by simply adding sudo to the beginning - essentially meaning that you never need to login as root anymore. For additional security we can also completely disable root login through ssh (which stops a lot of brute force attacks) which will be covered in a future post.
Now we have a new user setup, we still need to do some more work to better secure our server. In the next post we will set up public key authentication which is a much more secure method than the simple password we have at the moment.