Installing Jekyll using the WSL
21 Jan 2017Thanks to the awesomeness that is the WSL Windows Subsystem for Linux, you can now install and use a load of tools on Windows just as you would do under Linux. Previously I used to run Jekyll (running under Ruby) solely through a Unix based environment - creating new blog posts through a system of SSH and SFTP. Ruby development on Windows has never really been that great, but now the whole process has got much easier - run everything locally through the WSL layer.
The first step is to install Ruby. Following the instructions from their site:
1. Install dependencies
sudo apt-get install git-core curl zlib1g-dev build-essential libssl-dev libreadline-dev libyaml-dev libsqlite3-dev sqlite3 libxml2-dev libxslt1-dev libcurl4-openssl-dev python-software-properties libffi-dev nodejs
2. Install Ruby via rvm
I had troubles installing Ruby via rbenv, but rvm seems to work just fine.
cd
curl -sSL https://get.rvm.io | bash -s stable
source ~/.rvm/scripts/rvm
rvm install 3.0.1
rvm use 3.0.1 --default
ruby -v
(you will be prompted to enter your password a couple times for apt-get installs of requirements)
3. Install Bundler
gem install bundler
4. Install the Jekyll Gems
gem install jekyll
gem install jekyll-sitemap
gem install jekyll-paginate
5. Install the Pygments highlighter
(not needed if you are using the Rouge highlighter)
Make sure you have Python and Pip installed first then:
sudo pip install pygments
gem install pygments.rb
6. Confirm the installation
jekyll -v
You should see output like
jekyll 3.9.1
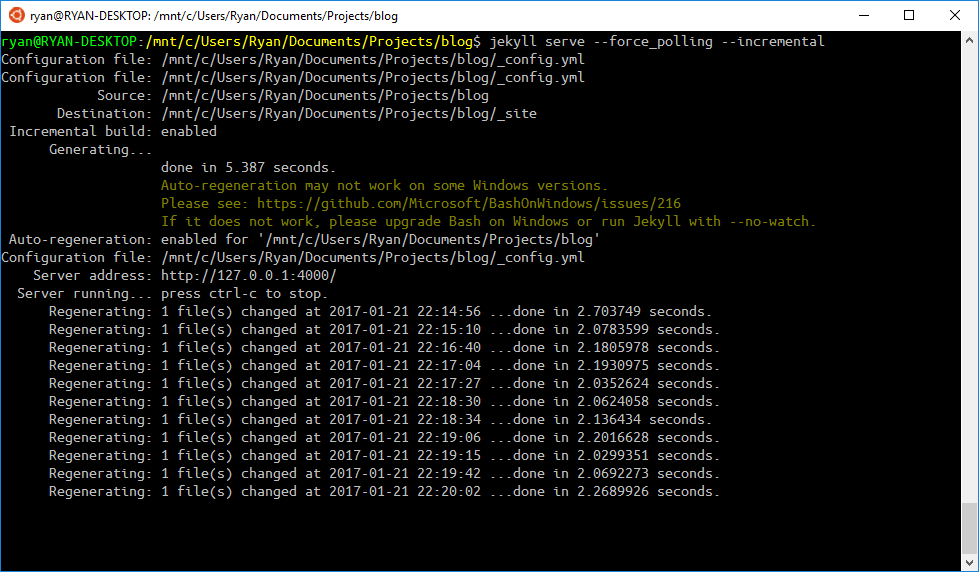
7. Build and serve your site
jekyll serve --force_polling --incremental